Achieving the perfect cut on rigid materials is a crucial skill in various construction and renovation projects. Proper use of specialized tools ensures clean edges, precise shapes, and a professional finish. This guide delves into the intricacies of utilizing handheld devices designed for this purpose, emphasizing the techniques required to maximize accuracy and efficiency.
Whether you’re working on a large-scale project or a small home improvement task, understanding how to effectively operate these tools is essential. The process involves careful preparation, consistent pressure, and attention to detail, ensuring that each slice is both straight and smooth. With the right approach, even the most challenging materials can be handled with ease.
In the following sections, you’ll find a step-by-step breakdown of how to set up, use, and maintain these indispensable devices. By mastering the methods outlined here, you’ll be able to tackle any surface cutting challenge with confidence and skill.
Understanding the Manual Tile Cutter
Before embarking on any renovation project, it’s essential to grasp the importance of the tool designed for precision and efficiency. This equipment, which is crucial in shaping and resizing materials, offers a simple yet effective solution for achieving smooth edges and accurate measurements.
Key Components
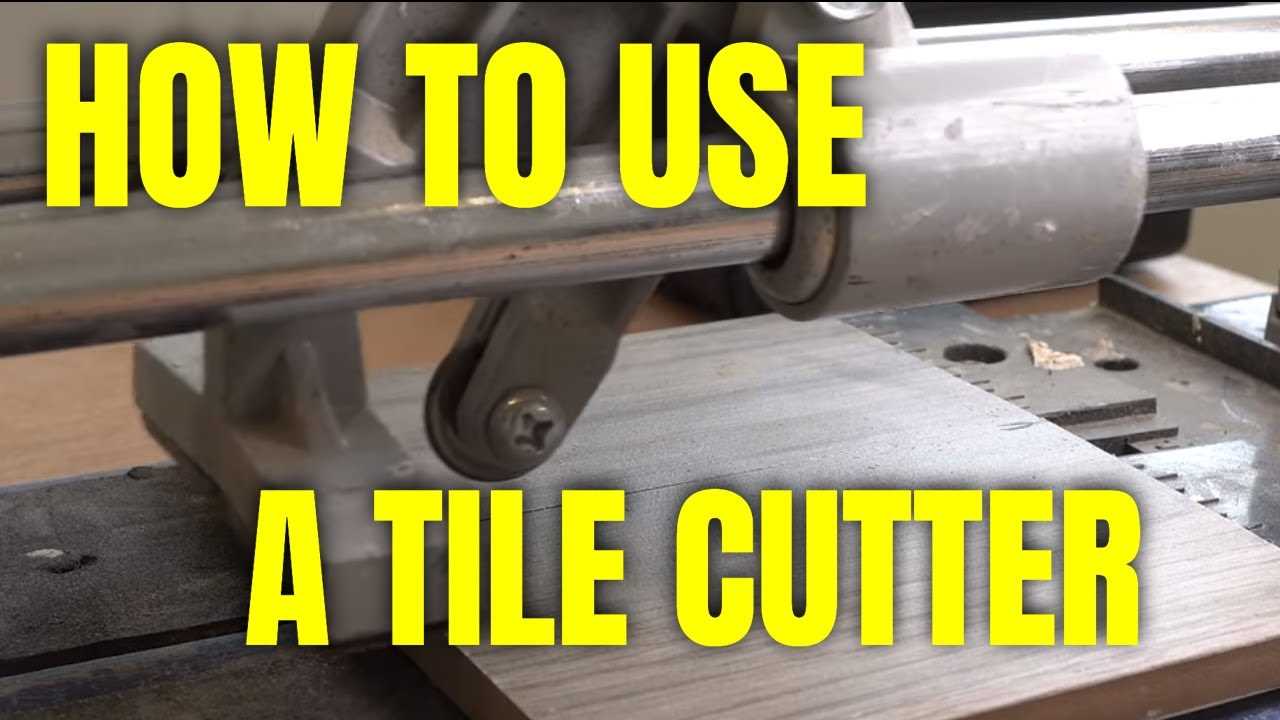
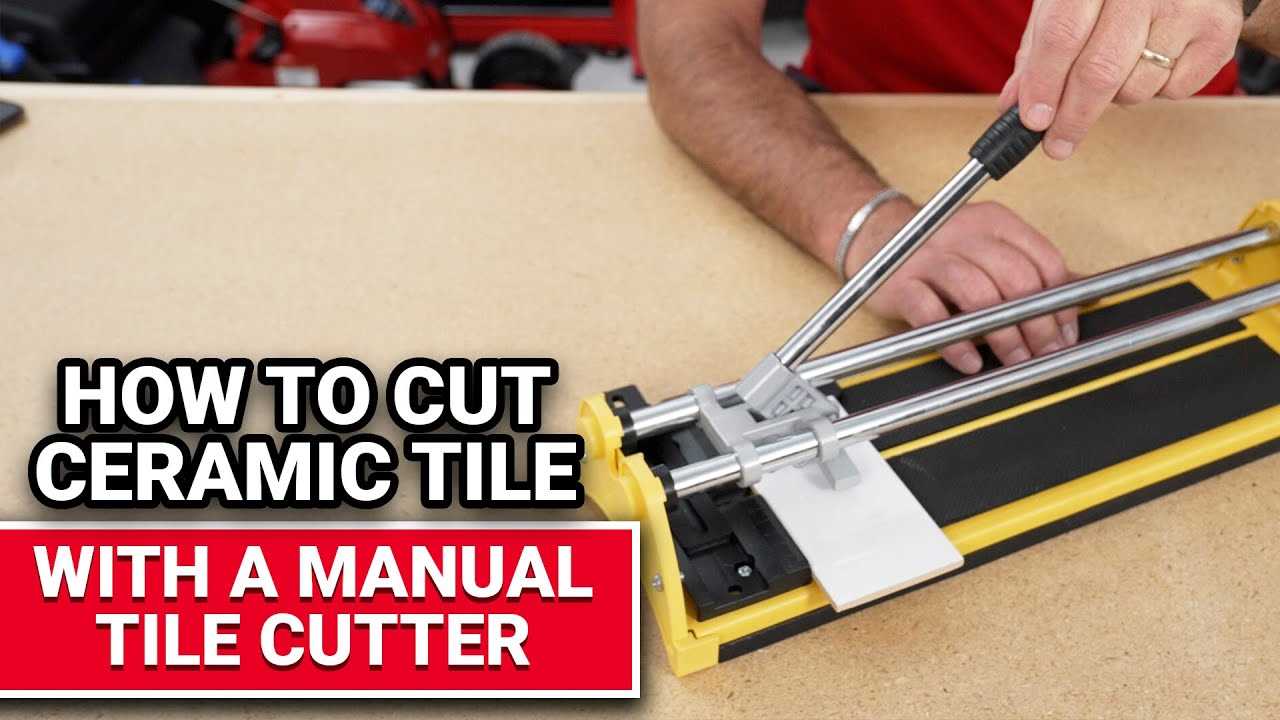
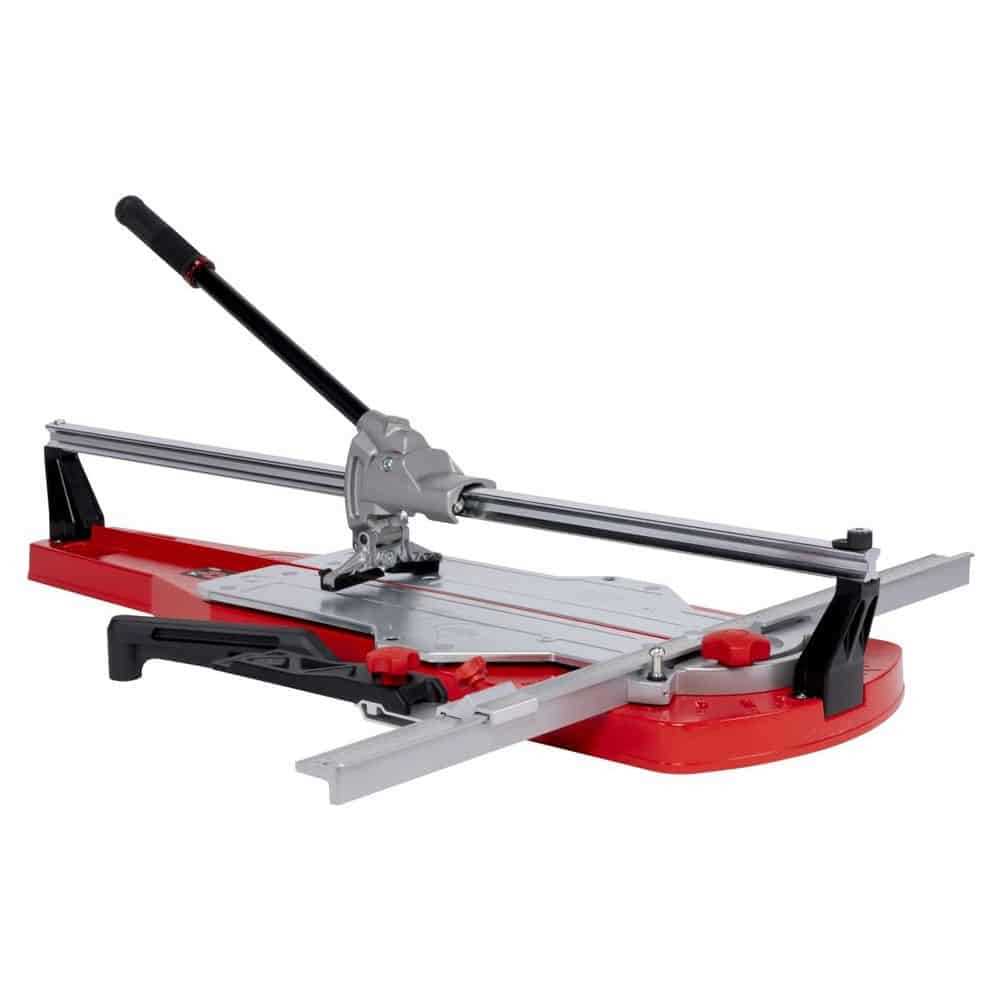
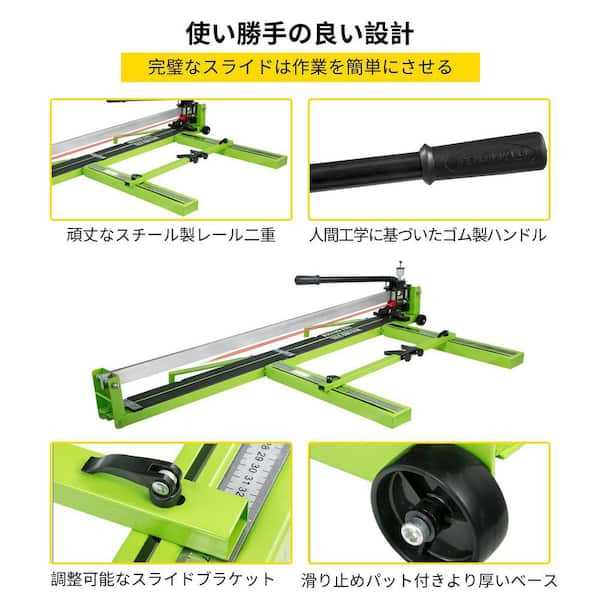
The core elements of this tool include a robust base, guiding rails, and a scoring wheel. The base provides stability, while the rails ensure straight cuts. The scoring wheel is responsible for marking the surface before applying pressure to break it cleanly along the line.
Operation Process
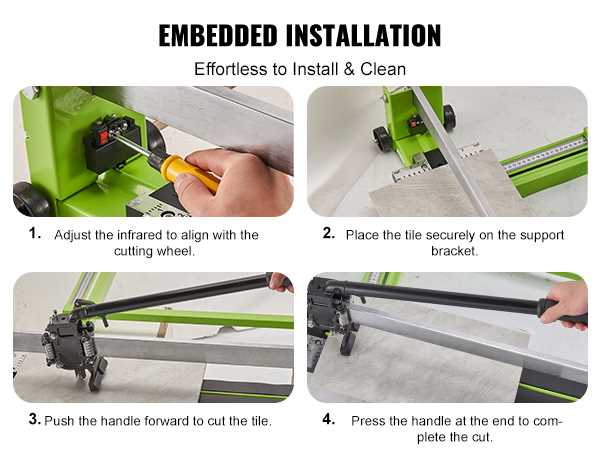
To use this equipment effectively, begin by aligning the material against the guide, ensuring it’s positioned correctly. Next, glide the scoring component across the surface to create a defined line. Finally, apply gentle pressure to snap the material, resulting in a precise cut.
Components and Features Explained
This section provides a detailed overview of the essential parts and characteristics of the tool. Understanding these elements is crucial for optimizing performance and ensuring precise results. By familiarizing yourself with each component, you can better handle the device and achieve consistent outcomes.
Key Parts Overview
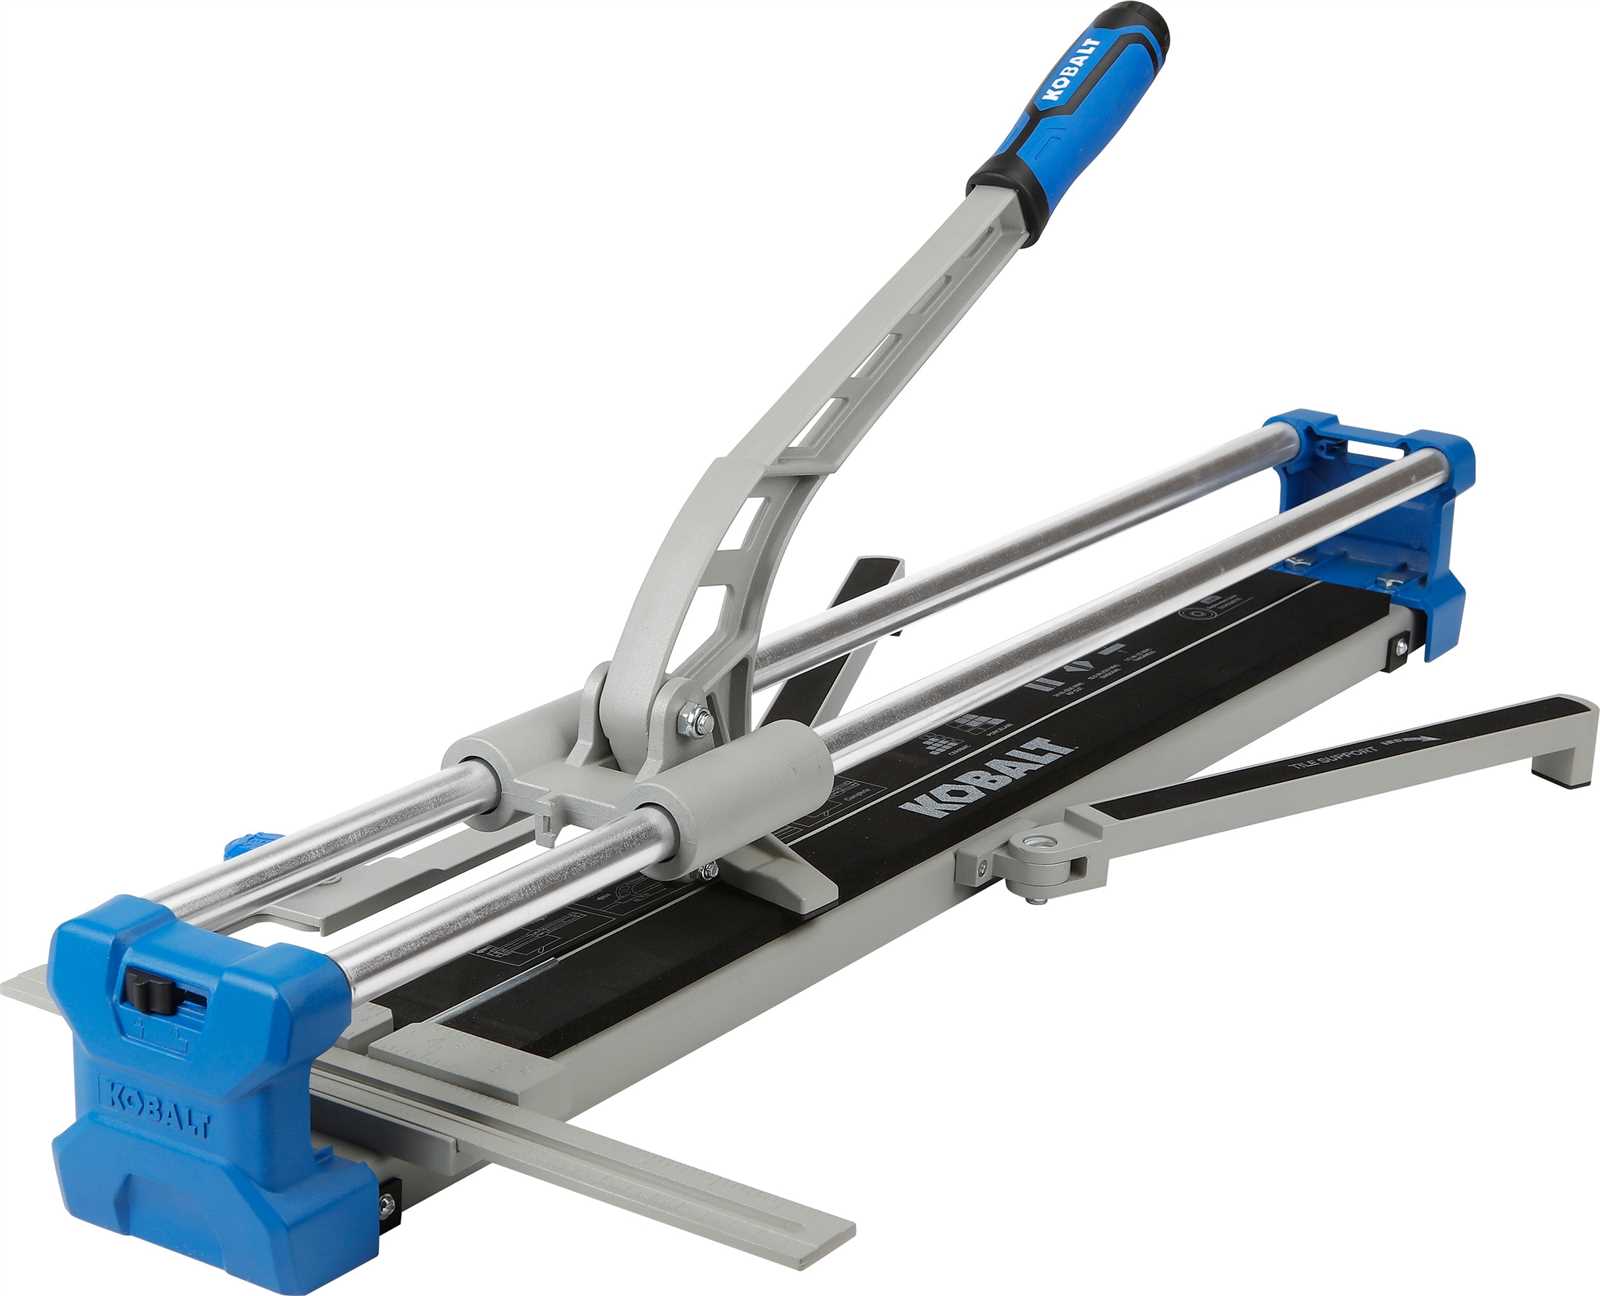
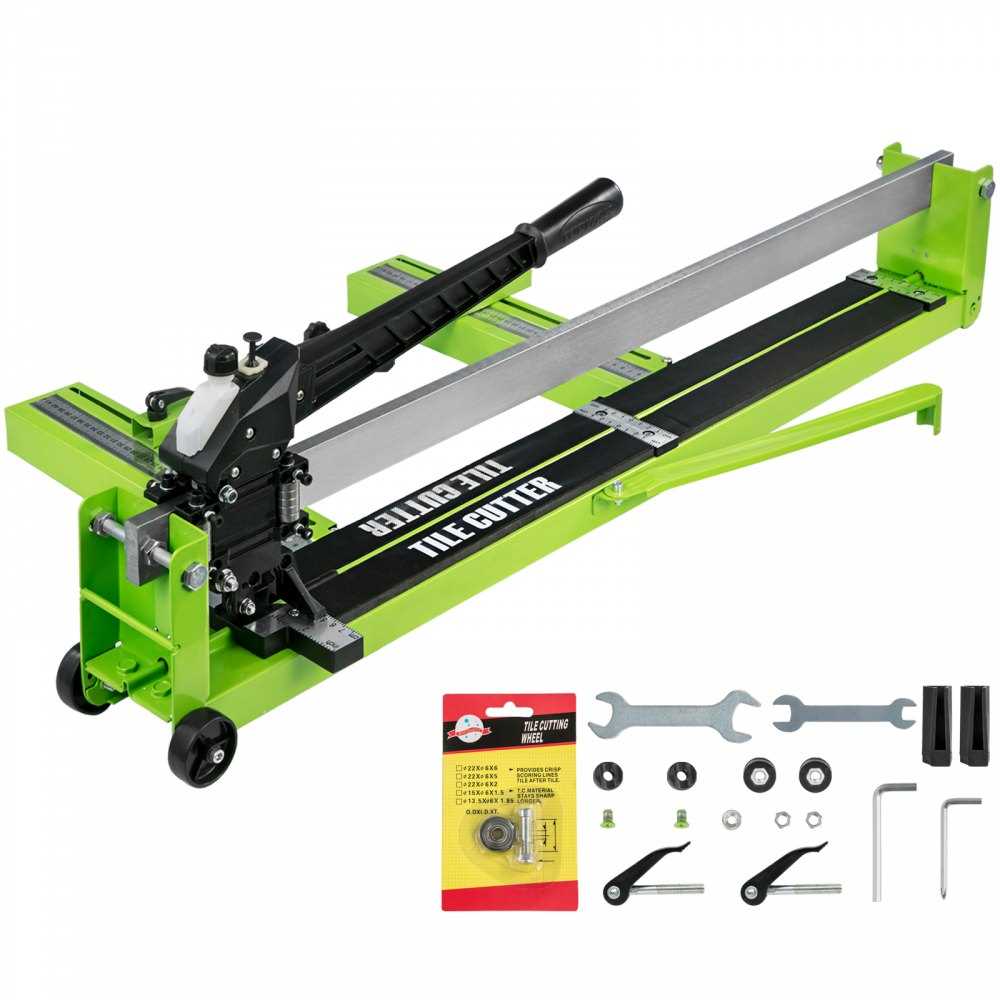
- Base Platform: The stable surface where the material is placed during use. It ensures the material remains steady for accurate operation.
- Scoring Wheel: The sharp element responsible for creating a fine line on the surface of the material. This component is crucial for initiating the process and guiding the subsequent actions.
- Handle: The lever that allows the user to apply pressure on the scoring wheel. Proper grip and control of this part are essential for achieving clean results.
- Guide Rails: These parallel bars help in maintaining the material’s alignment, ensuring straight and precise movement during operation.
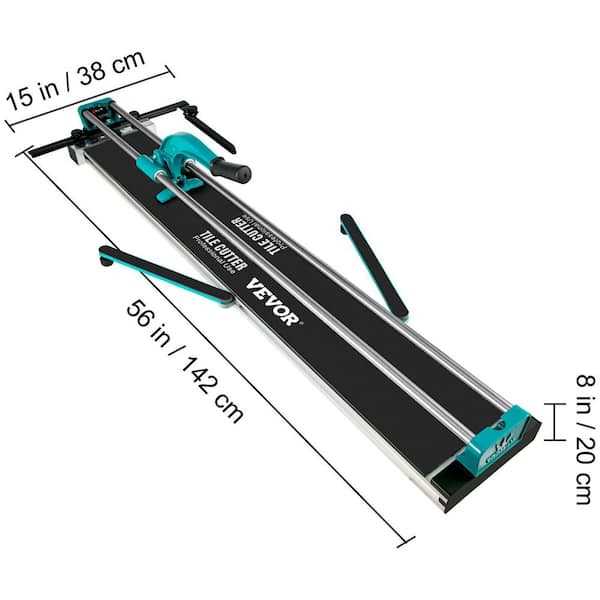
- Support Arms: Extendable arms designed to hold larger pieces steady, preventing any movement that could disrupt the process.
Notable Features
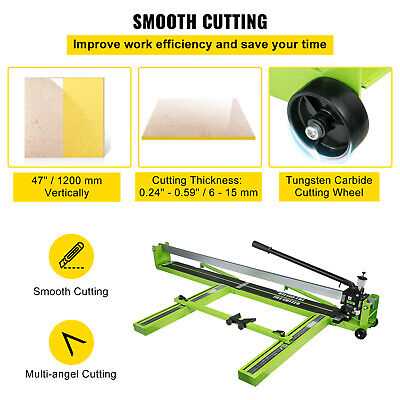
- Adjustable Angle: Allows for cutting at various angles, providing versatility for different project requirements.
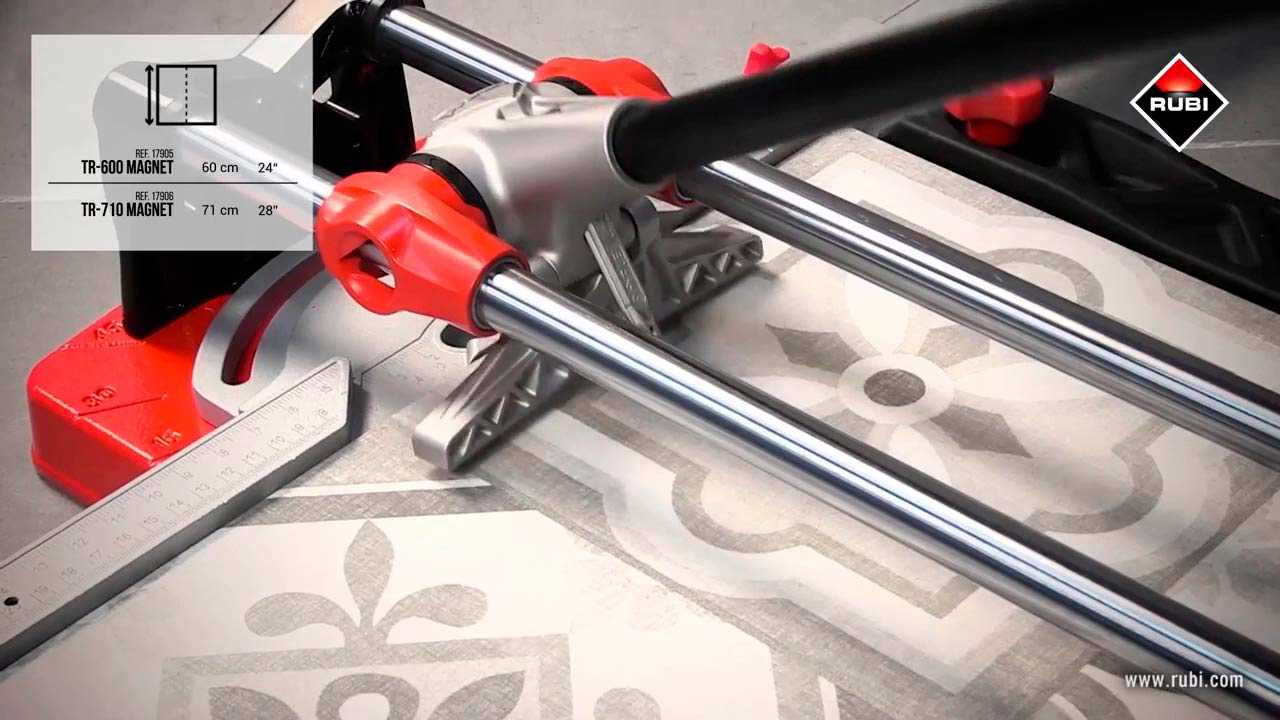
- Measurement Guide: A built-in scale that aids in measuring and aligning the material before beginning the operation.
- Safety Mechanisms: Features such as non-slip feet or locking systems that enhance user safety and prevent accidental mishaps.
Understanding these components and features will enhance your ability to use the tool efficiently and achieve professional results with every task.
Setting Up Your Tile Cutter
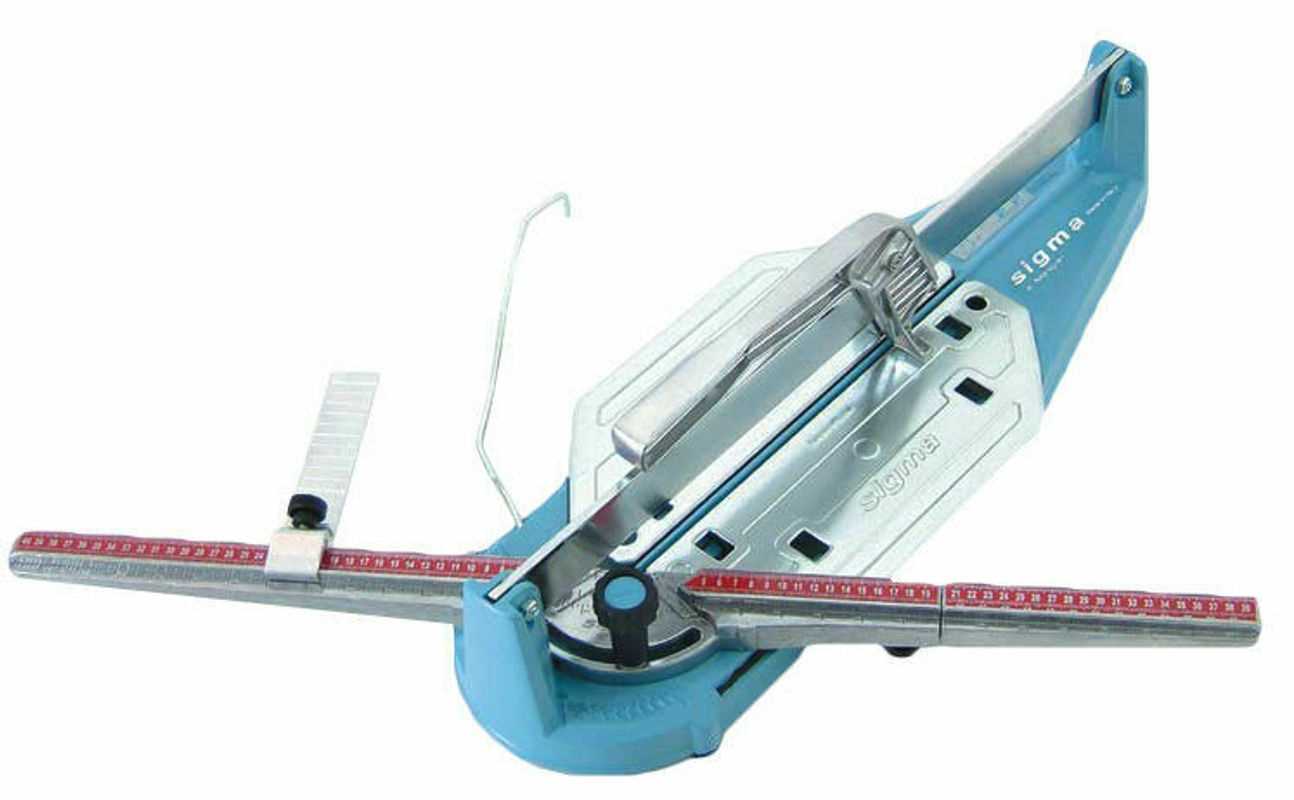
Before starting any cutting tasks, it’s essential to prepare your tool properly. This ensures precise cuts, reduces errors, and extends the life of your equipment. Follow these guidelines to establish a stable work environment and make necessary adjustments for optimal performance.
Positioning the Device
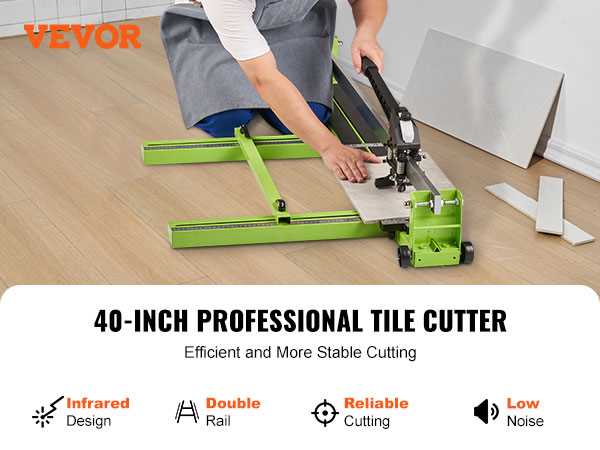
Place the equipment on a flat, sturdy surface to avoid any movement during operation. Ensure the workspace is clear of debris and has sufficient lighting. Align the tool parallel to the edge of your workbench to allow smooth operation and accurate cutting lines.
Adjusting the Cutting Guide
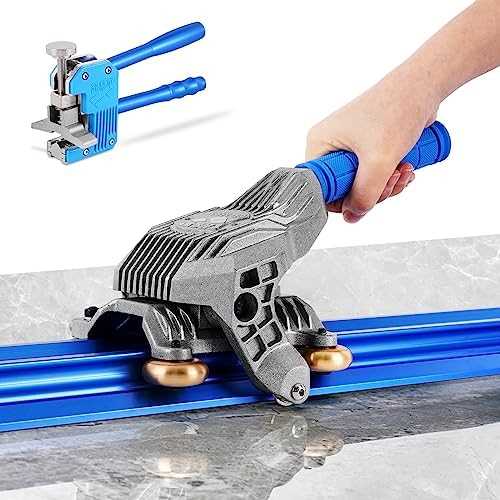
Most devices come with an adjustable guide for consistent cutting. Set the guide to the desired width, and securely tighten any locking mechanisms. This helps maintain straight cuts and prevents misalignment. Double-check the guide position before starting to ensure accuracy.
| Component | Action |
|---|---|
| Work Surface | Ensure it’s clean and stable |
| Positioning | Align parallel to the workbench edge |
| Cutting Guide | Adjust and lock to desired width |
| Lighting | Verify adequate illumination |
Step-by-Step Cutting Process
This section outlines a precise approach for achieving accurate, clean separations in your materials. By following the steps detailed below, you’ll ensure consistent results with minimal effort, even if you’re new to this process.
Step 1: Preparation – Begin by placing the material on a stable, flat surface. Ensure that the side you intend to separate is facing upwards. Align the piece according to your measurement marks, taking care that it is positioned correctly.
Step 2: Scoring the Surface – Gently score along the line where you plan to divide the material. Apply steady, even pressure to create a visible mark. This initial groove will guide the process and make the next steps more manageable.
Step 3: Aligning for the Cut – Position the material so that the scored line aligns perfectly with the edge of your work surface or any guide you are using. This alignment is crucial for a precise and straight separation.
Step 4: Applying Pressure – With the material correctly aligned, apply firm and even pressure along the scored line. The material should begin to weaken along the groove, preparing it for a clean break.
Step 5: Executing the Separation – Finally, gently but confidently apply additional force to break the material along the scored line. If all previous steps were followed carefully, the separation should be smooth, leaving you with two cleanly divided pieces.
By following this methodical process, you can achieve professional-level results, ensuring your projects meet the highest standards of precision and quality.
Maintaining and Cleaning the Tool
To ensure longevity and optimal performance of your equipment, regular upkeep and proper cleaning are essential. Consistent maintenance not only extends the lifespan of the device but also enhances its efficiency, making your tasks smoother and more accurate.
Regular Inspection: Periodically check the tool for any signs of wear or damage. Focus on moving parts, ensuring that they operate smoothly without any obstruction. Lubricate as necessary to prevent friction and rust.
Cleaning: After each use, clean the tool thoroughly. Remove any dust, debris, or residue that may have accumulated during operation. Use a soft brush or cloth to wipe down the surfaces, paying particular attention to areas where dirt tends to build up.
Storage: Store the tool in a dry, clean environment when not in use. Avoid exposure to moisture or extreme temperatures, as these can cause deterioration of components.
By following these simple steps, you will ensure that your equipment remains in top condition, ready for any future projects.
Common Mistakes to Avoid
When working on precise projects, it’s essential to avoid errors that can lead to imperfect results. Being aware of common pitfalls will help ensure a successful outcome and save time and resources.
Improper Measurement: One of the most frequent errors is inaccurate measuring. Always double-check your dimensions before proceeding to ensure everything aligns perfectly.
Neglecting Surface Preparation: Ensuring the surface is clean and smooth is crucial. Any debris or unevenness can cause issues later, leading to subpar finishes.
Forgetting to Secure Materials: Failing to properly secure materials can result in uneven or incorrect results. Always ensure your workpiece is firmly in place before proceeding.
Rushing the Process: Patience is key. Rushing through the steps often leads to mistakes that could have been easily avoided. Take your time to ensure accuracy.
Ignoring Tool Maintenance: Overlooking the condition of your tools can significantly impact the quality of your work. Regularly check and maintain your equipment for optimal performance.
Safety Tips for Using the Cutter
Prioritizing safety is crucial when working with any sharp tool. To avoid injuries and ensure a smooth process, it is important to follow certain safety precautions. This section will cover essential guidelines to keep in mind while operating the tool to prevent accidents.
Wear Protective Gear
- Eye Protection: Always wear safety glasses to shield your eyes from flying debris.
- Gloves: Use cut-resistant gloves to protect your hands from sharp edges.
- Footwear: Wear sturdy, closed-toe shoes to guard your feet from falling objects or accidental slips.
Ensure a Stable Work Environment
- Stable Surface: Place the tool on a flat, secure surface to prevent it from moving during use.
- Clear Area: Keep the workspace free of clutter to avoid tripping or knocking the tool over.
- Lighting: Ensure adequate lighting to see the material clearly and avoid mistakes.
Following these safety practices will help minimize risks and ensure a safer and more efficient working experience.